3 Simple Ways to Improve Your Travel Photography Workflow
After travelling pretty extensively last year, I’ve finally found a rhythm that helps simplify my travel photography—and today, I’m sharing the three key strategies that have made the biggest difference.

1. Pack Light—Stick to One Camera or Focal Length
One of the biggest ways I simplify my travel photography is by limiting my gear. That means choosing just one camera or one focal length whenever possible. Why? It massively reduces decision fatigue.
Let’s be honest—I already wake up wondering what to wear, let alone what camera gear to carry. When you’re travelling, cutting down your options is actually freeing. I’ve taken trips where I packed way too much and regretted it. I’d spend more time thinking about what lens to use than actually taking photos.
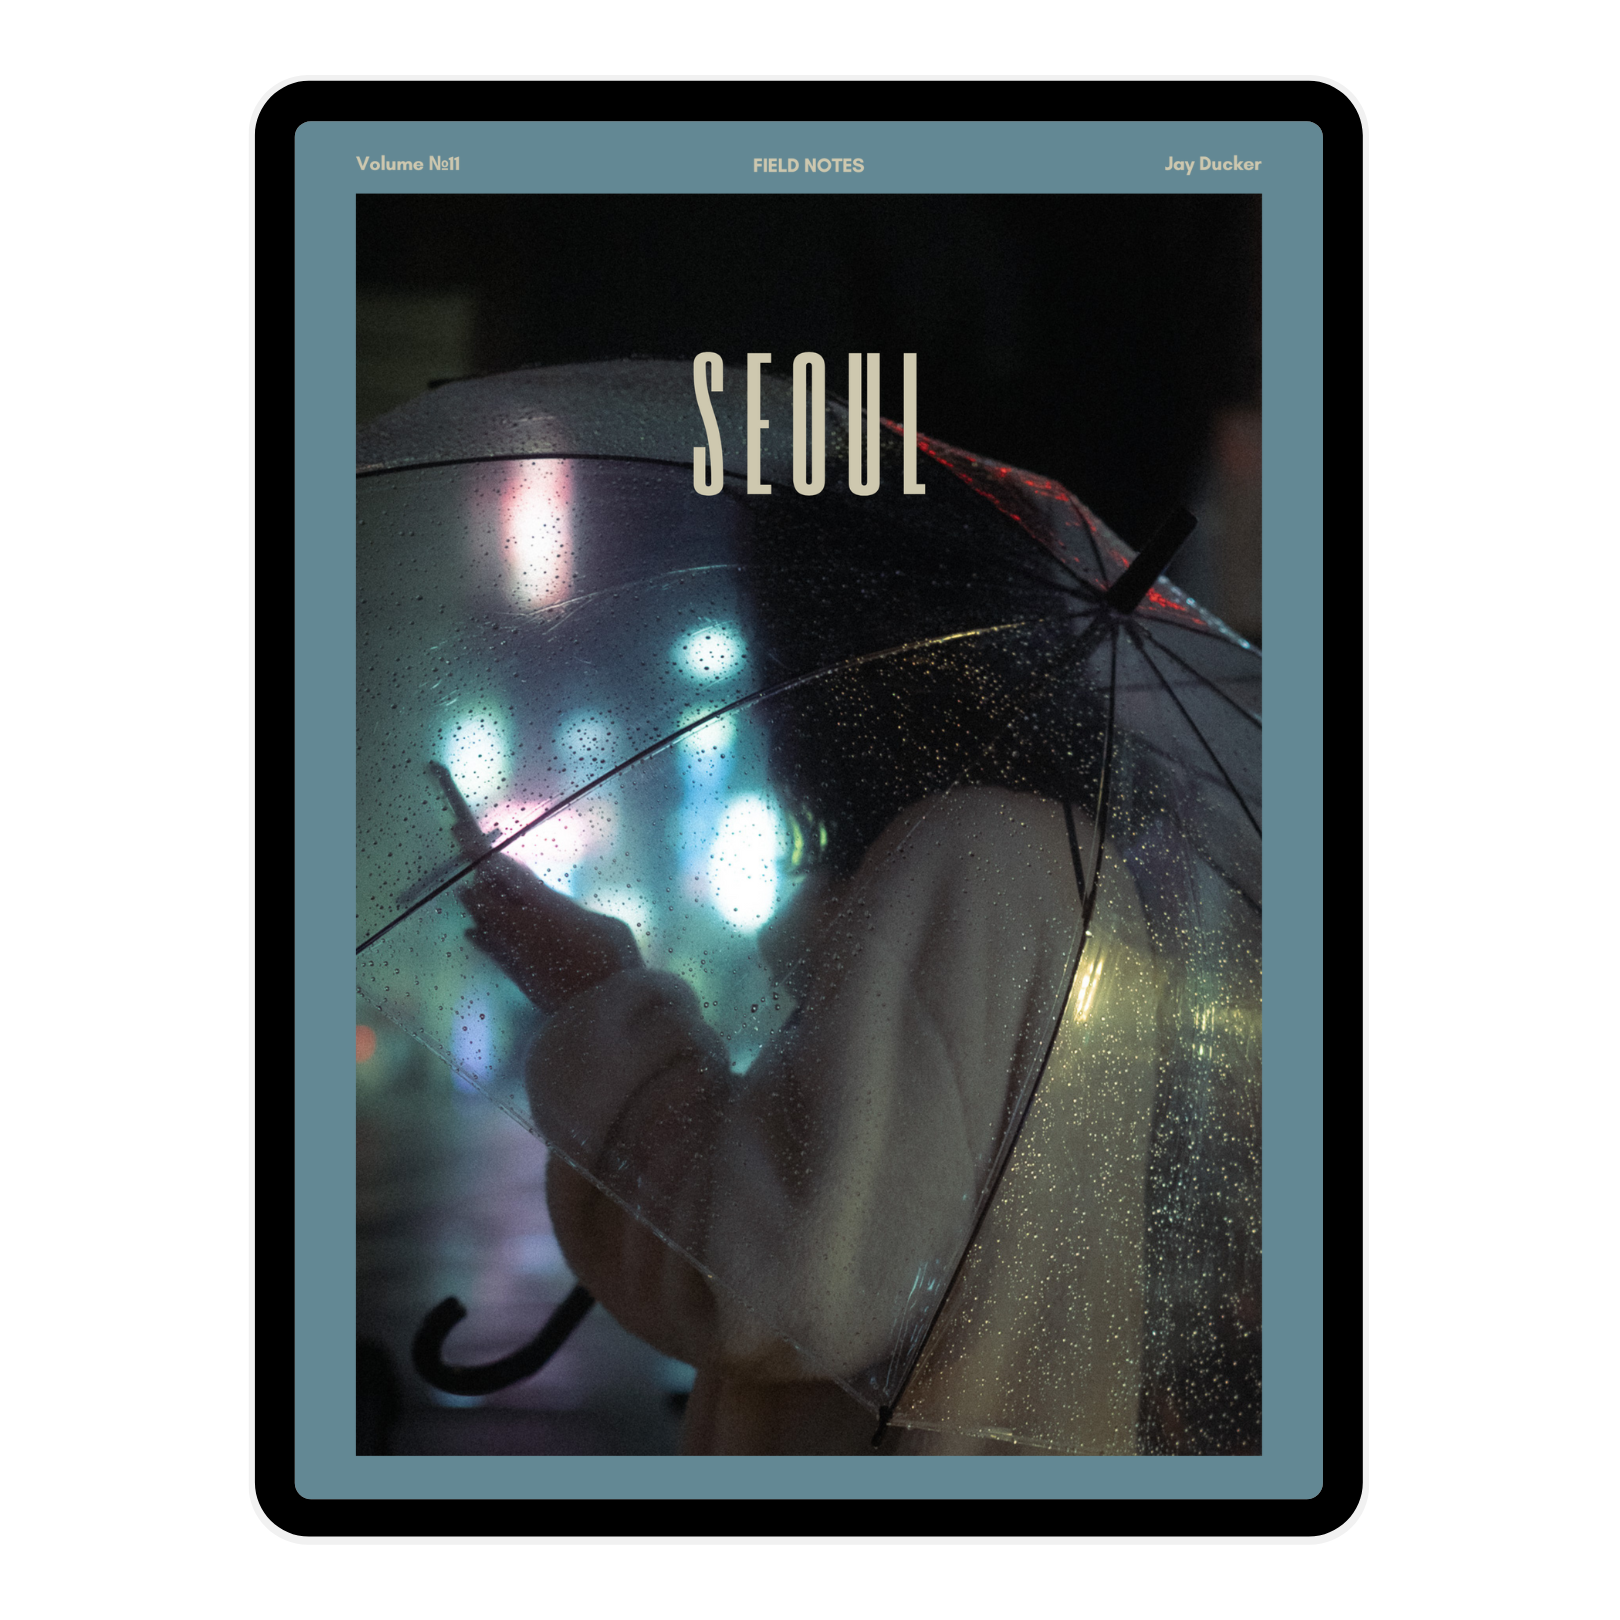
If you absolutely must bring more than one camera, just pick one setup per outing. On this trip to Tokyo, I brought more than usual, but when I go out for the day, I only take my Fujifilm X100VI. (Okay, and a small Osmo Pocket—but the principle still stands.)
Limiting yourself encourages creativity. When you know your limitations, you focus more on storytelling and photography—not just on playing with gear. I’ve carried kilos of unused kit around cities before. Now? I travel light and shoot better.

2. Plan Less, Wander More
Another major simplifier: don’t over-plan your days. Yes, it’s great to have a few spots in mind—but rigid itineraries kill spontaneity. And spontaneity is where the magic happens in street and travel photography.
Today, for example, I decided to explore Shimokitazawa. I’ve been here before, so I had a loose idea of what to expect, but I mostly let the day unfold. That kind of openness led to a great chat with a Korean traveller who gave me new tips on areas of Shinjuku I’ve never seen. Now I’ve got new spots to check out—and potentially a new friend.
Keep a flexible plan. Avoid strict shot lists full of “must-have” iconic photos. Instead, focus on variety in storytelling: wide shots, detail shots, overheads, POVs, portraits. This structure serves your storytelling better than a checklist of landmarks ever will.

3. Use Presets to Speed Up Your Workflow
Editing can be a time sink, especially when you’re on the road. The easiest way to simplify that process? Presets.
Using a consistent look across your photos not only saves time but also gives your work a cohesive visual identity. I have a free preset you can download from this website, which is great if you're just starting out. Here in this post, the photos you see are all edited using my presets—either the free one or others from my full set.
If you’re further along in your journey, consider building your own preset packs based on looks you love. Trust me, your workflow will thank you. Batch editing with presets frees you up to focus on shooting and storytelling instead of constantly tweaking sliders.

Bonus: Want to Go Full-Time with Travel Photography?
If you're serious about turning your photography passion into a full-time career, check out The Photopreneur Club. It's where I share everything I’ve learned from going full-time—YouTube, content creation, photography, pitching to brands, and more.
I'm currently in Tokyo for my first-ever exhibition (still can’t believe it), and none of this would’ve happened without taking that leap into full-time creativity.
You’ll find everything about the club via the homepage on this website.

Help support this ad-free blog by checking out my products below


*This post contains affiliate links and I will be compensated if you make a purchase after clicking through my links.
As an Amazon Associate I earn from qualifying purchases